The mudroom got an upgrade!
A MUDROOM UPGRADE
You guys have been patiently waiting for more "project updates" on a few rooms in our house and honestly, that's the reality of living in a fixer upper in the midst of life. Now some of you may say, your home is perfect the way it is, it doesn't need any updates. Yes that is true, but there is something so special and fun about making a house YOUR home, and that is what we have been enjoying doing over the last 2 years.
This is one area that I have been wanting to give some attention to & I am so excited to share the temporary update that this room got! In the near future our plan is to move our laundry to the mudroom from the basement, it would be a lot more convenient and also allow us to add a whole storage room.
Here is the before:
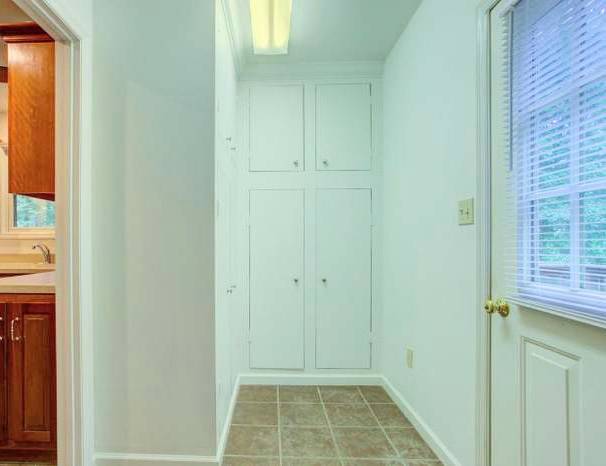
Here is a little glimpse at our mudroom before. So bland, outdated and not our style at all.
And the After!!
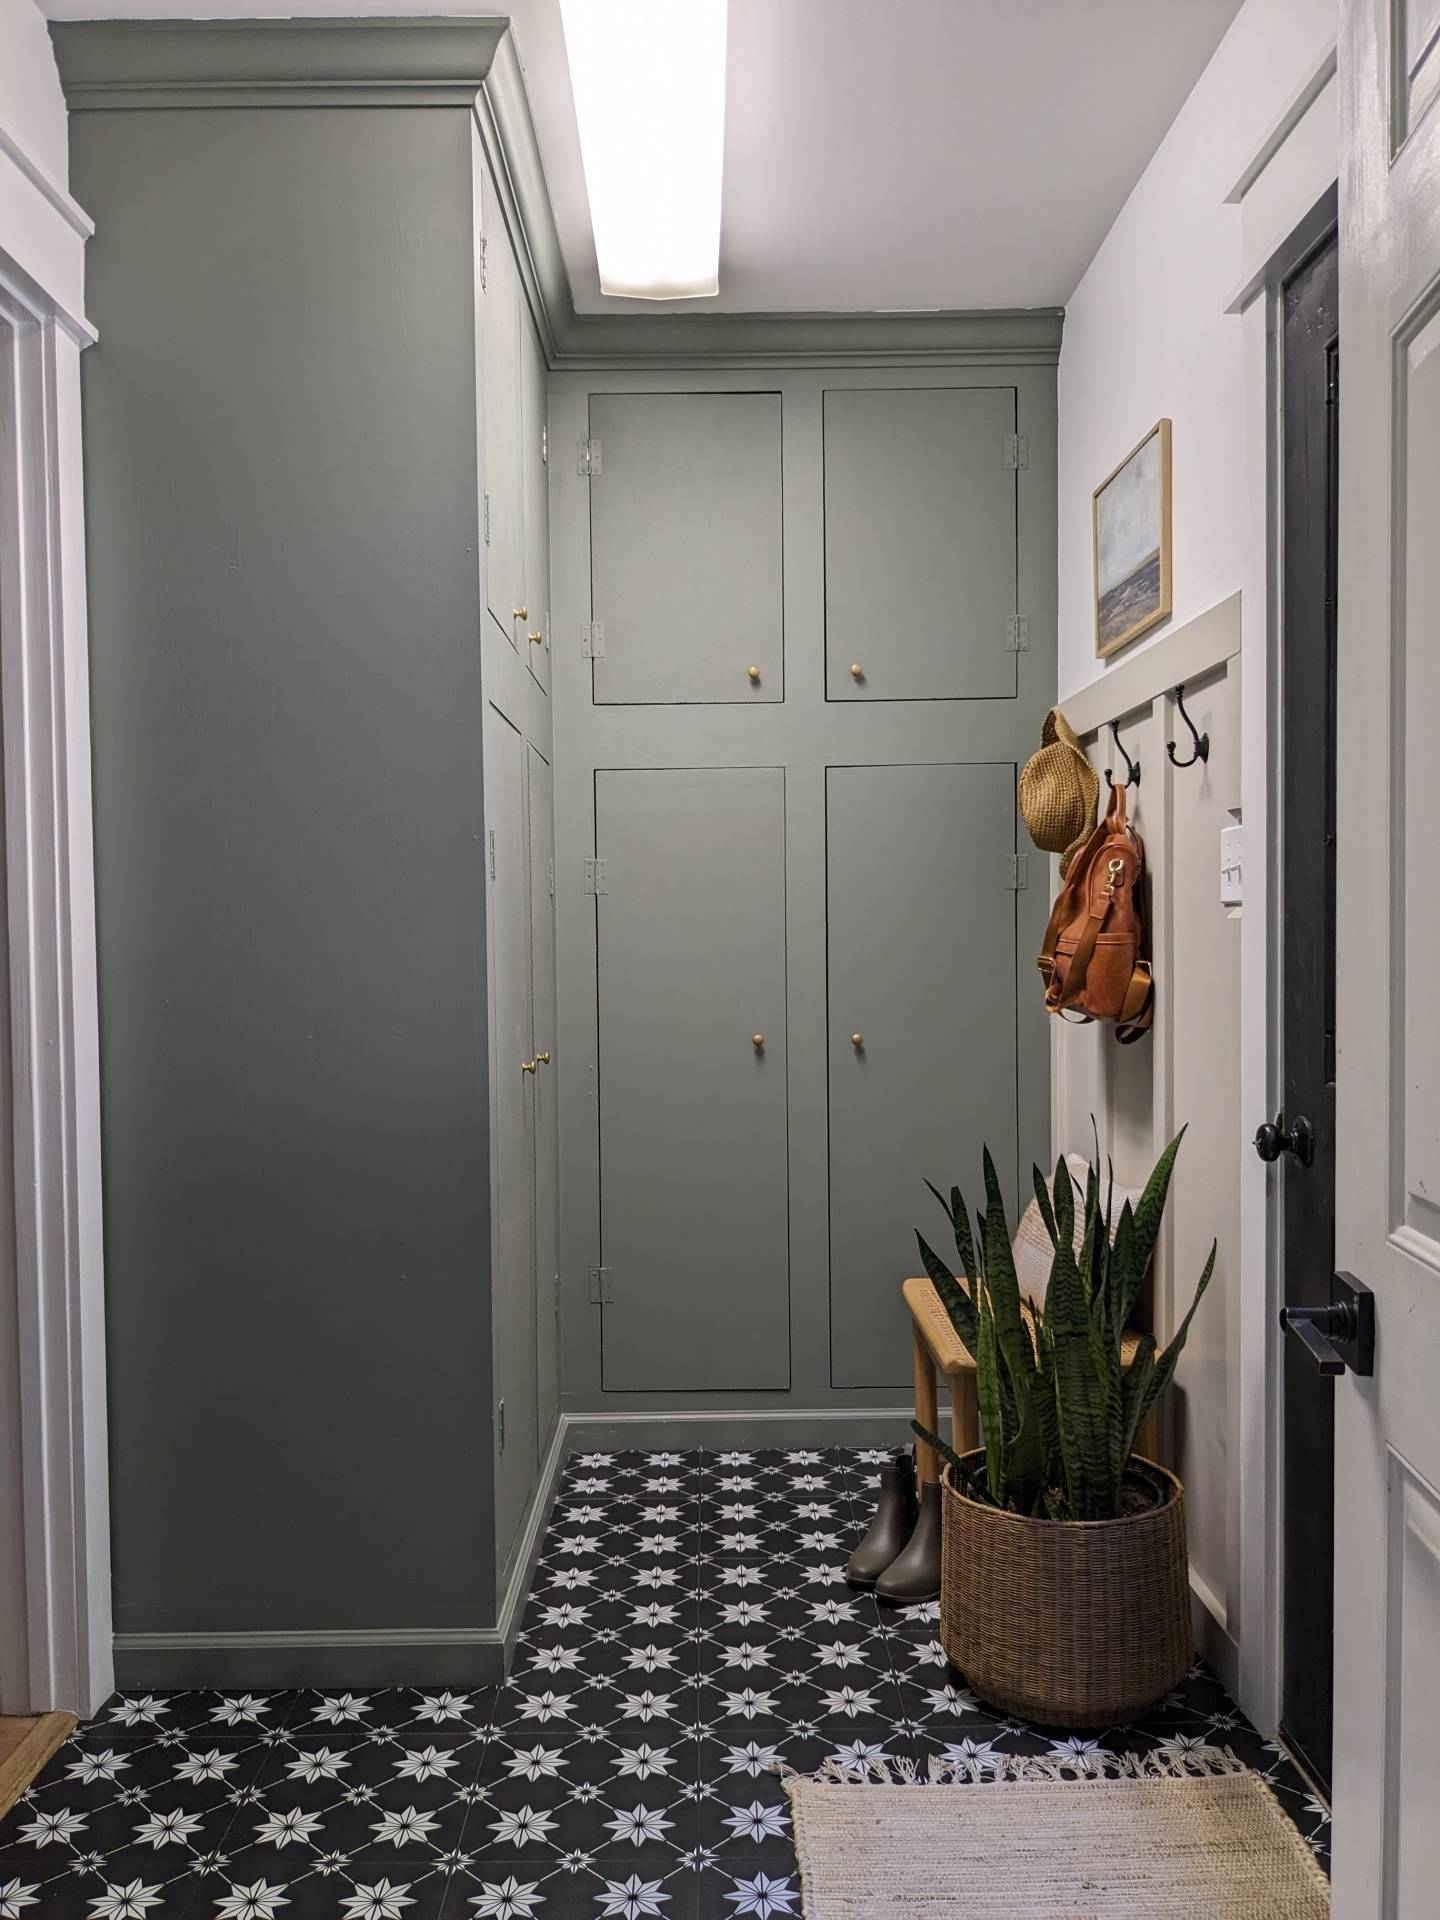
Some fresh paint, new floor tiles and a board and batten wall totally changed the look and feel of this space!
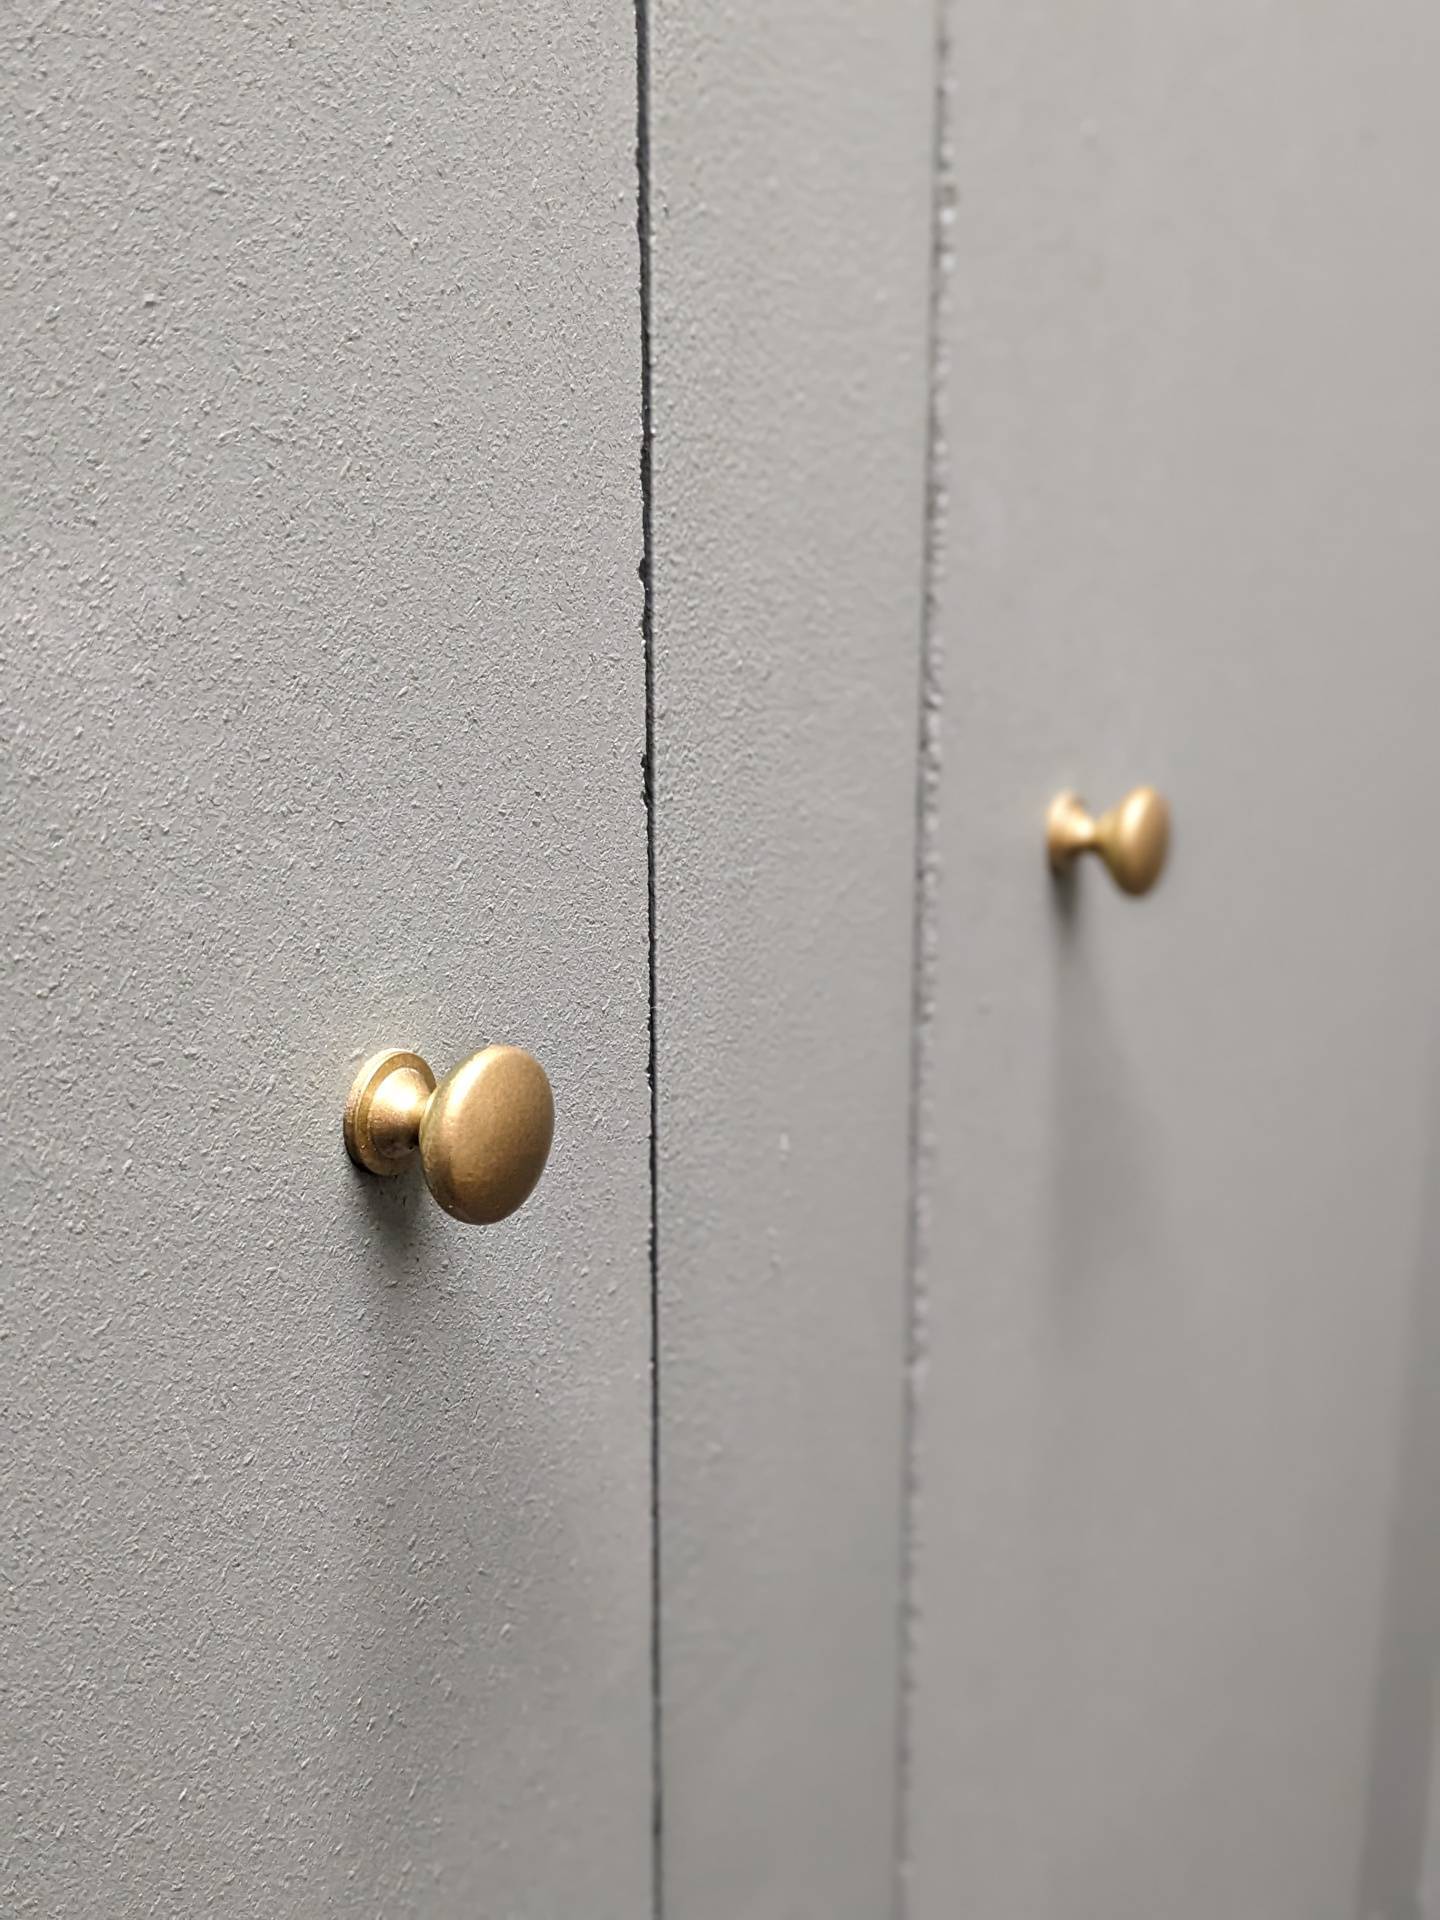
I got the painting supplies out and went to town on the storage cabinets. I painted them in "Retreat" by SW and spray painted the knobs in a brush gold. I tell ya friends Retreat by SW is seriously one of my favorite paint colors, it's neutral, earthy and just the right amt of grey/green.
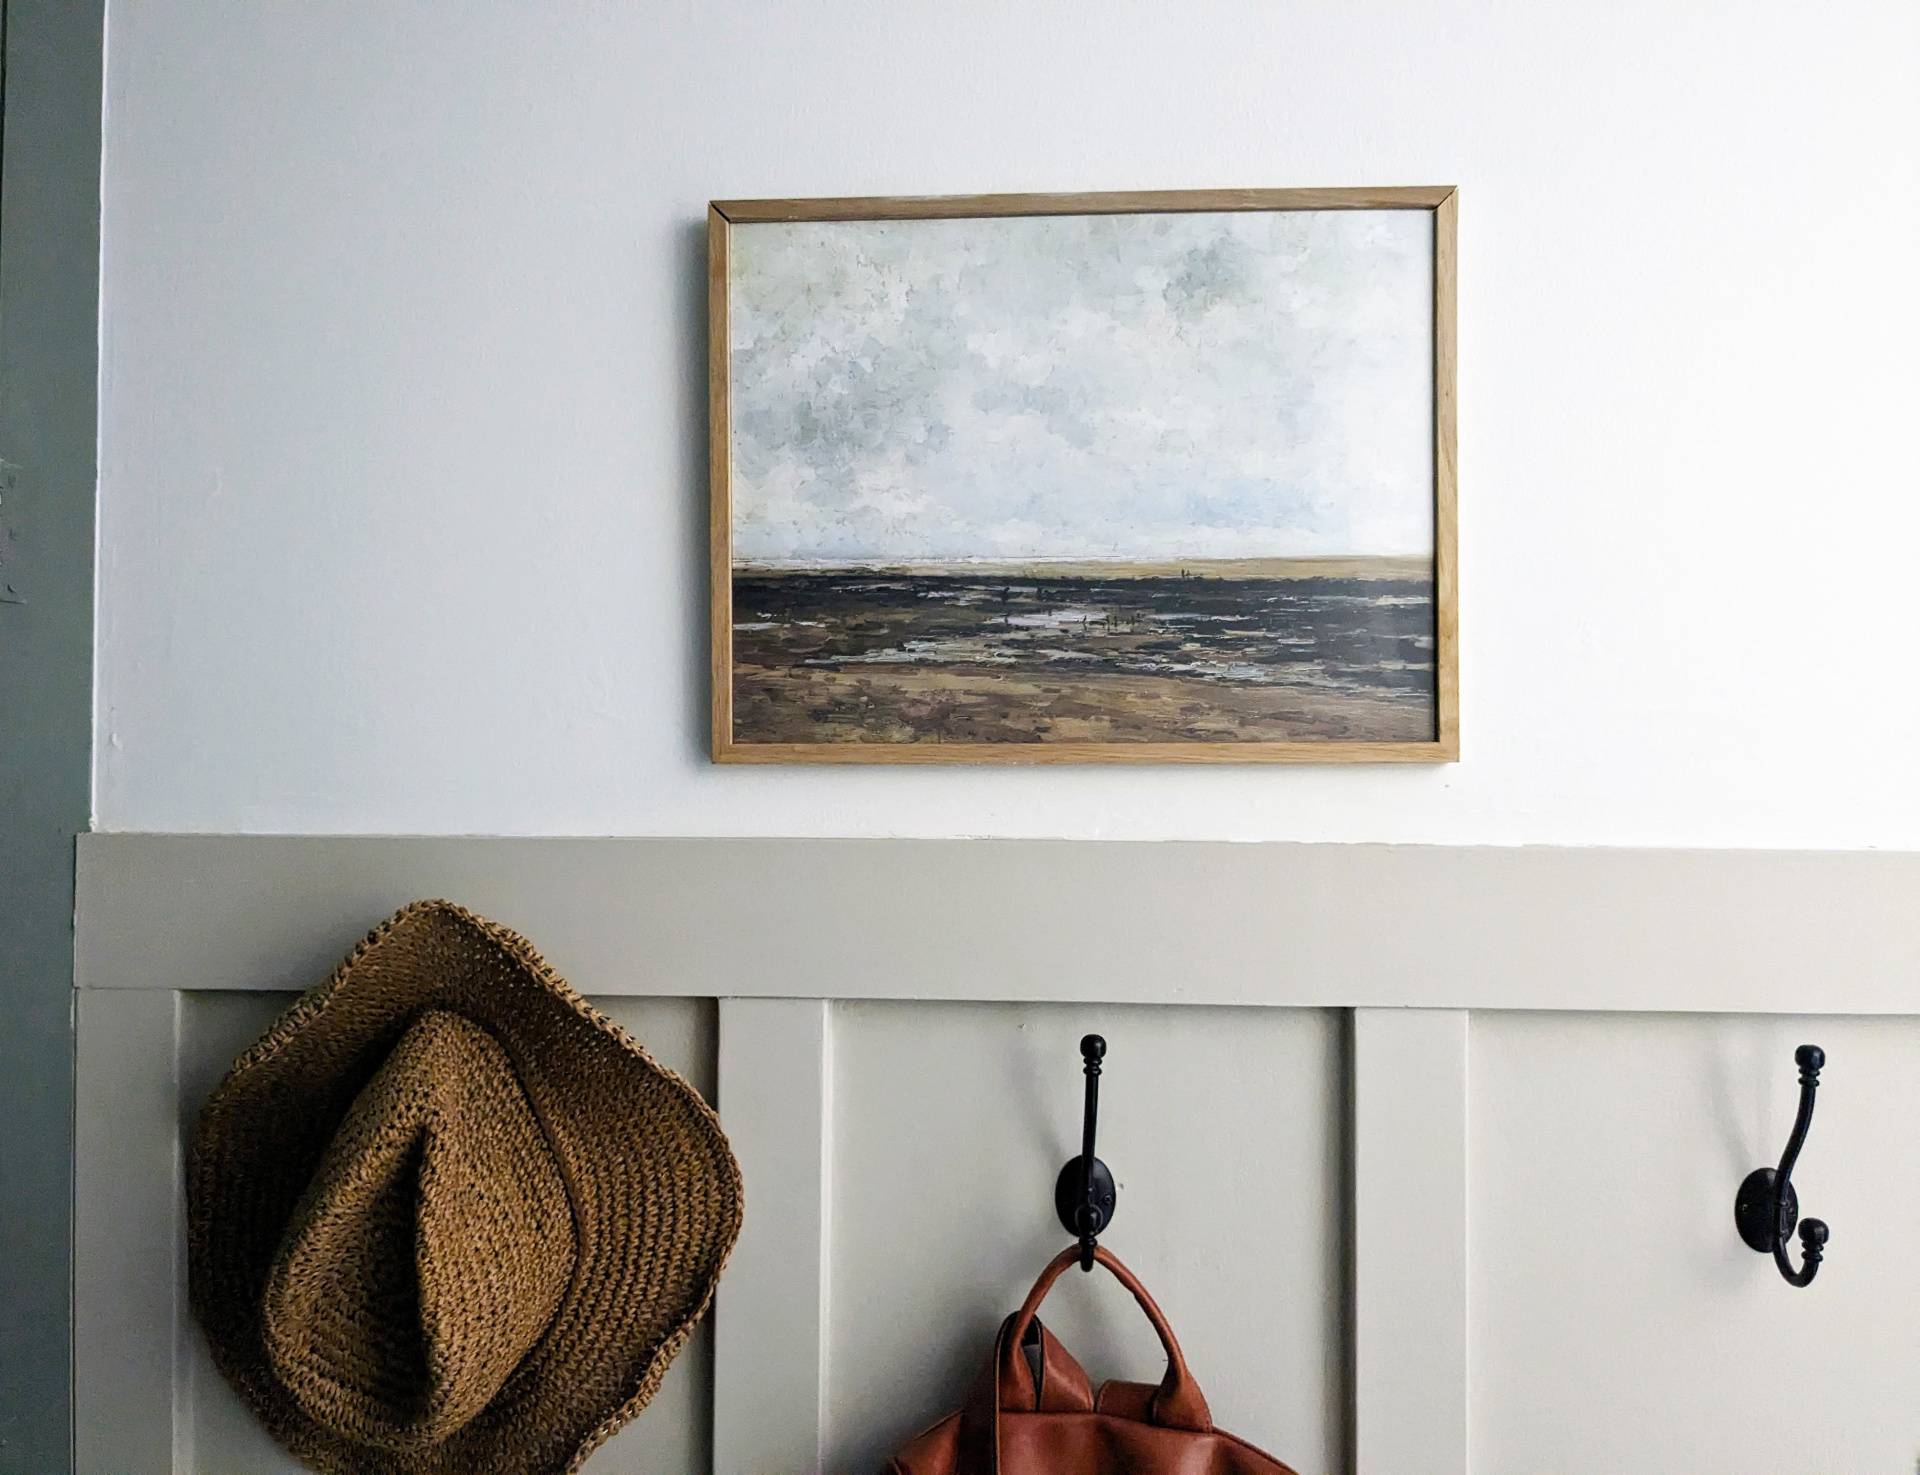
Then Peter added some 1x3 vertical boards and the top trim piece is a 1x4 piece board to create the board and batten accent wall, This was the easiest part, but due to the house being a little older we had to do so much patching, sanding, patching and repeat so the walls aren't perfect... But hey adds a little character! After all the patching and sanding were done I painted the wall in "accessible beige" by SW. Seriously these two colors are my fav! They are beautiful, earthy tones. Lastly, we placed the coat hooks and framed wall art. Here is a link to the website, they have a large selection of beautiful paintings!
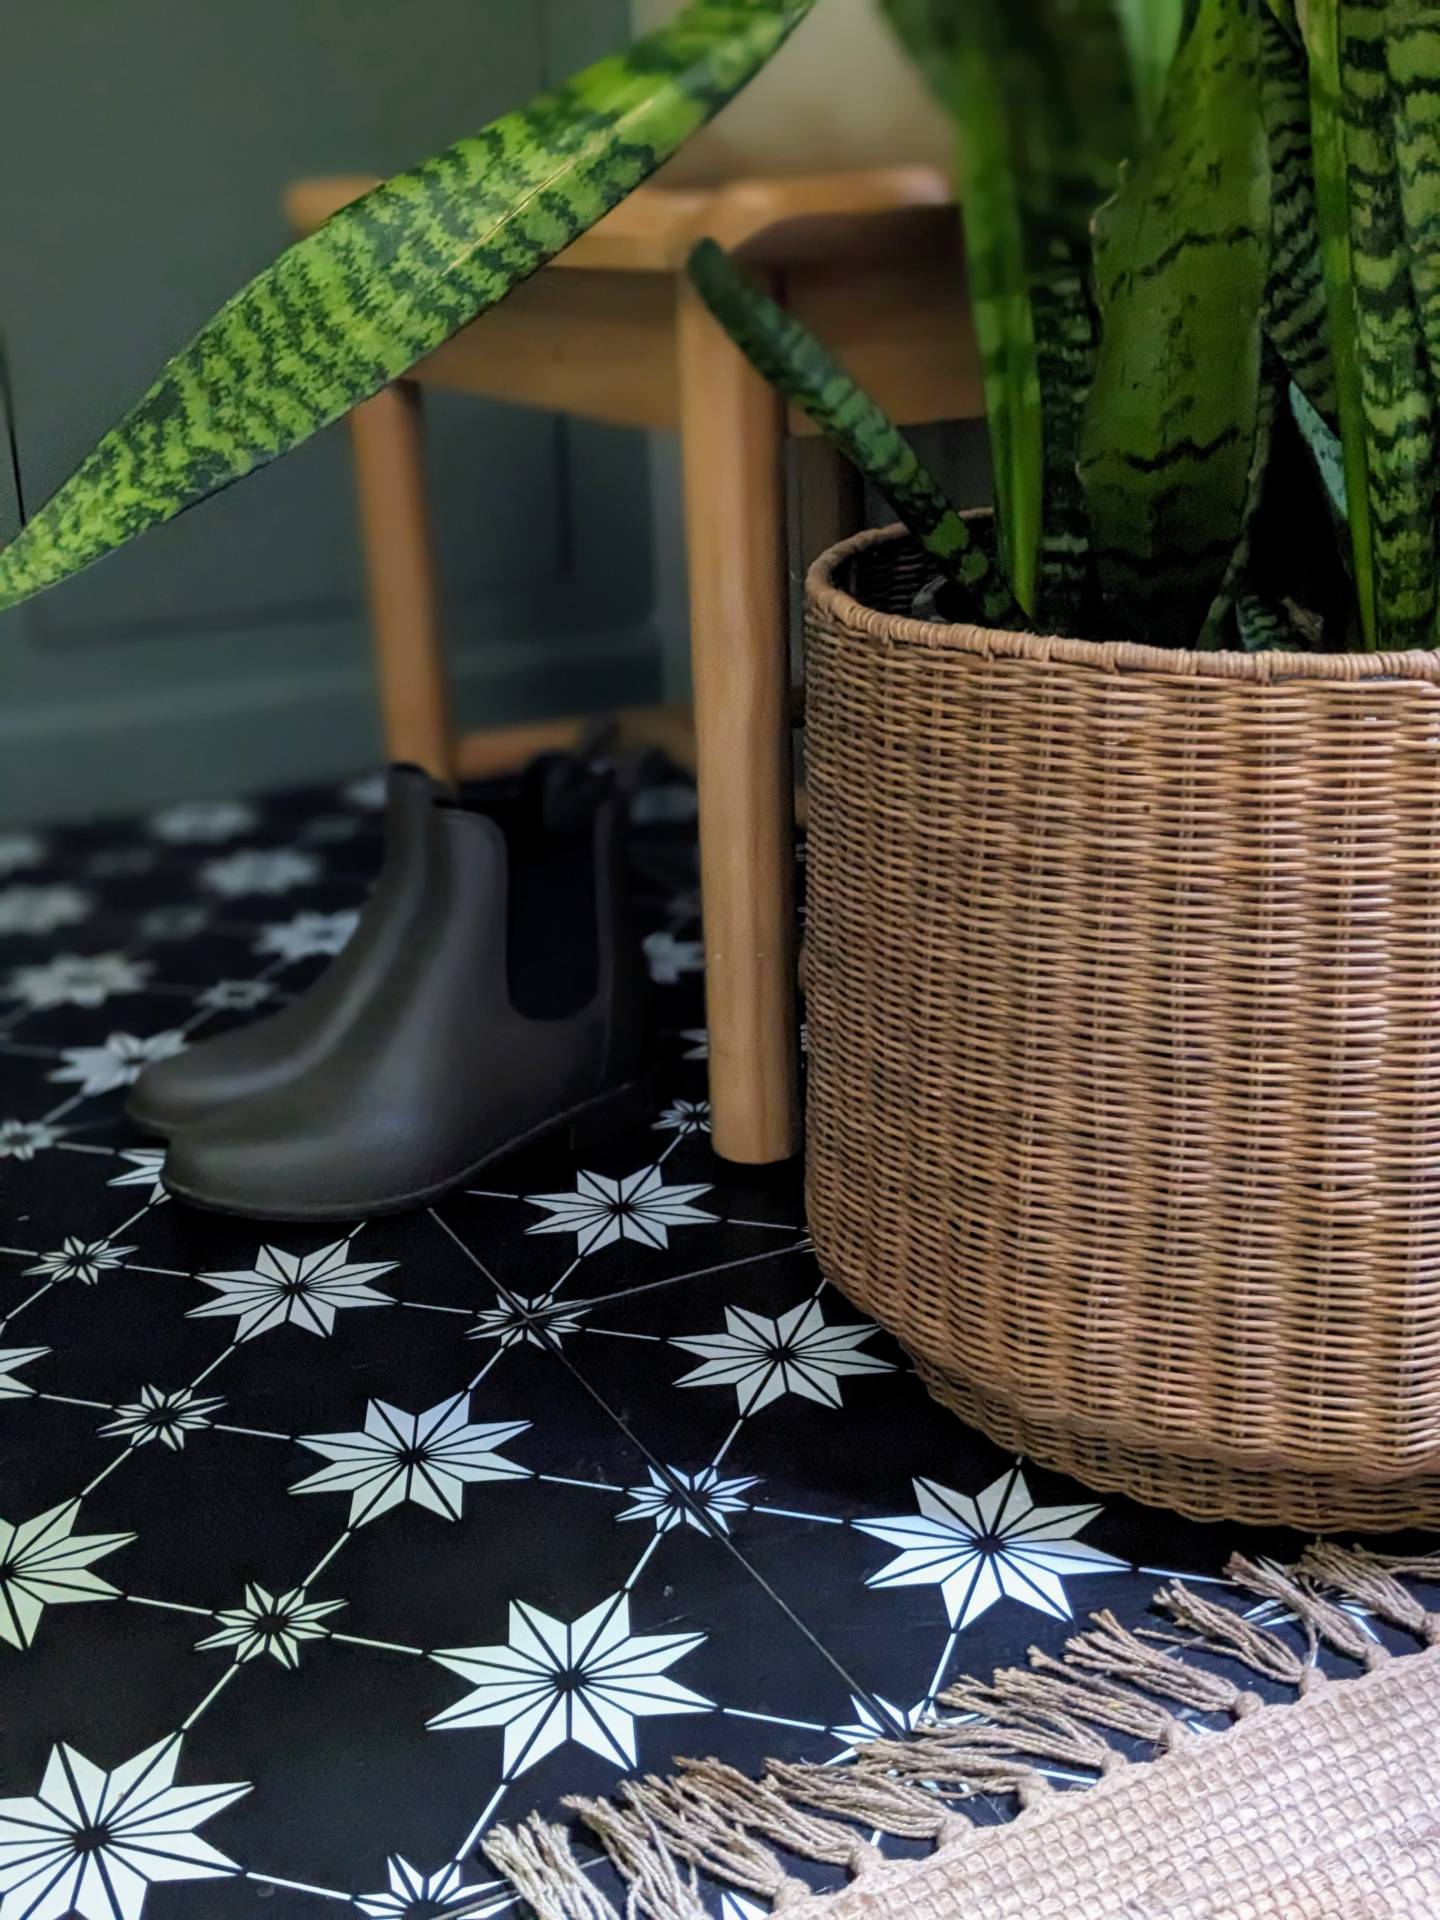
The previous floor was like a yucky brown, reddish color tile and just wasn't going to go with the upgrades already given to the space. An easy and quick DIY instead of replacing the floors was putting down some peel & stick floor pops. I found these floor pops at Hobby lobby for less than $15 a box of 10. They were tricky to put down in the areas that needed some trimming to the piece due to trim/doorway. We started out with using a utility knife, but it wasn't cutting straight edges so we ended up using a good pair of scissors and that worked great!
Again, this was a temporary upgrade for our mudroom, we are hoping in the near future to bring our laundry up here and add some built in cabinets with a utility sink. But for now $300 did the trick to give this space a facelift for the time being :)
Thanks for reading friends :)
Posted: 05/02/2023